2026-08-18
The EGR valve is a super important part of the emissions and exhaust system. It not only cuts down on harmful emissions like nitrogen oxides, but also helps lower fuel use a bit and keeps the engine running smoother. Actually, taking out the EGR valve to clean or replace it isn’t as hard as you think. If you use the right method, most people can do it. Whether you’re an experienced mechanic or just want to save some repair costs by doing it yourself, this guide will show every step, clear and easy to follow.
EGR is short for “exhaust gas recirculation”. On heavy equipment, diesel engines can operate at temperatures up to 4,500 °F ( 2,500 °C). Nitrogen and oxygen in the air combine to produce nitrogen oxides (NOx). This is exactly the kind of pollutant that emissions regulations like Tier 4 focus on limiting.
The EGR valve sends a small portion of the exhaust back to the intake manifold, where it mixes with fresh air. This lowers the maximum temperature during combustion. As the temperature drops, NOx emissions also decrease.
If there is a problem with the EGR valve, exhaust gases with soot may be sucked into the engine. Over time, it is easy to damage delicate components such as the turbocharger and intake duct. Therefore, timely replacement of EGR valves is not only for emission compliance but also to protect the entire engine system.
Before you start, prepare the right tools and parts. Exact sizes depend on your machine, but this checklist has all the basics you’ll need.
How hard it is to replace the EGR valve depends on where it’s located. On some engines, it’s right on top and easy to reach. On others, it’s hidden deep in the engine bay — you’ll have to take off other parts first. Here’s a general step-by-step guide:
Park your machine on flat ground. Set the parking brake and wedge chocks. Remember, let the engine cool right down. Exhaust parts and coolant can stay burning hot for hours.
Check your machine’s service manual to find its exact spot. It’s usually mounted on the intake manifold, cylinder head or exhaust manifold. You’ll see an electrical plug on it, plus one or two metal tubes or coolant lines. A lot of the time, it’s part of a bigger setup with an EGR cooler.
Unhook the negative battery terminal. This stops electrical shorts and keeps the engine from accidentally cranking while you work.
Most heavy-duty EGR systems use liquid cooling to handle high heat. Before working on the EGR valve or cooler, drain some coolant if hoses are connected. Put a drip pan under the radiator drain and let out enough to get the level below the EGR valve.
Gently unplug the electrical connector from the EGR valve. Use pliers to loosen the clamps on the coolant hoses or vacuum lines, then slide them off the valve. A little leftover coolant might leak out — that’s totally normal. Next, loosen the bolts or clamps that hold the exhaust pipe to the valve. These things can be stuck tight — spray some penetrating oil on them to make it easier.
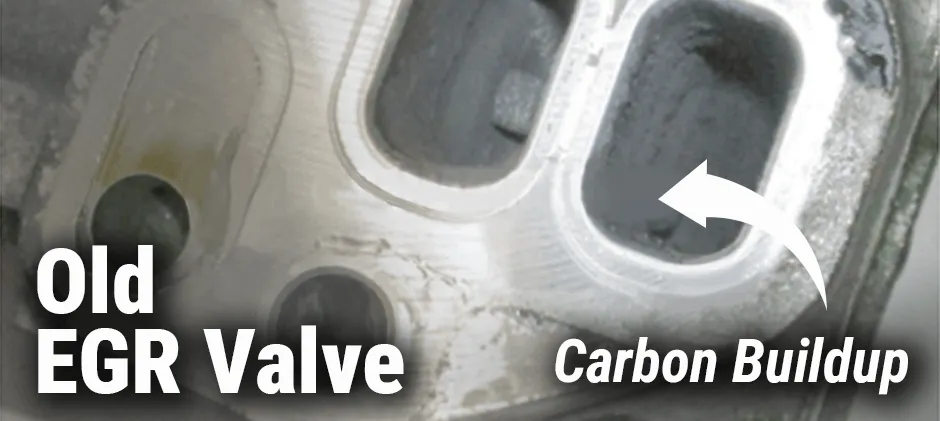
Use a socket wrench to remove the bolts securing the valve. These bolts may be tight if they are heated for a long time. Use force slowly to avoid breaking. Once the bolts are removed, gently pry the valve to loosen it. Old gaskets and carbon deposits can sometimes stick valves very well.
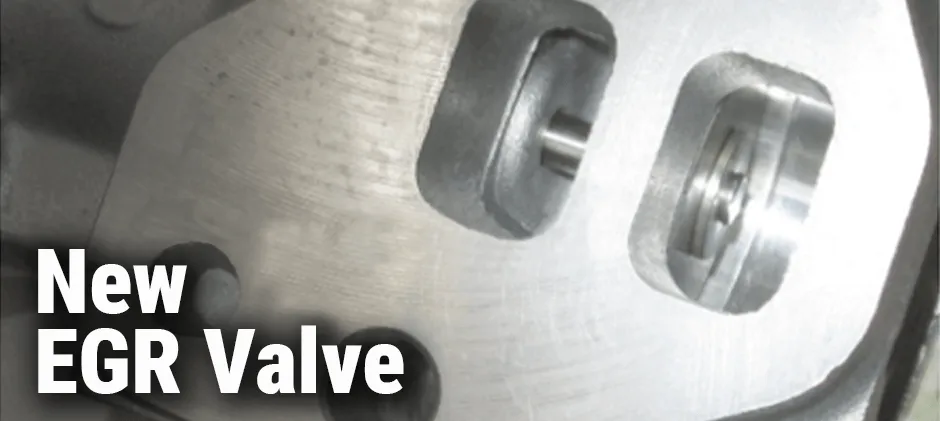
Any leftover gasket bits or carbon will stop the new valve from sealing properly, causing exhaust or coolant leaks.
Lay the new gasket on the clean mounting surface, and line it up with the bolt holes. Set the new EGR valve on top of the gasket, then screw in the mounting bolts by hand—this keeps the threads from getting cross-threaded. Grab a torque wrench and tighten the bolts in a crisscross pattern to the torque specs given by the manufacturer. Don’t overtighten them—you could warp the valve flange or snap the bolts.
Work in reverse order: reattach the exhaust gas tube, all coolant and vacuum lines, and the electrical connector. Make sure all clamps are tight.
If you drained the cooling system, top it off with the right type of coolant. Then hook the negative battery terminal back up.
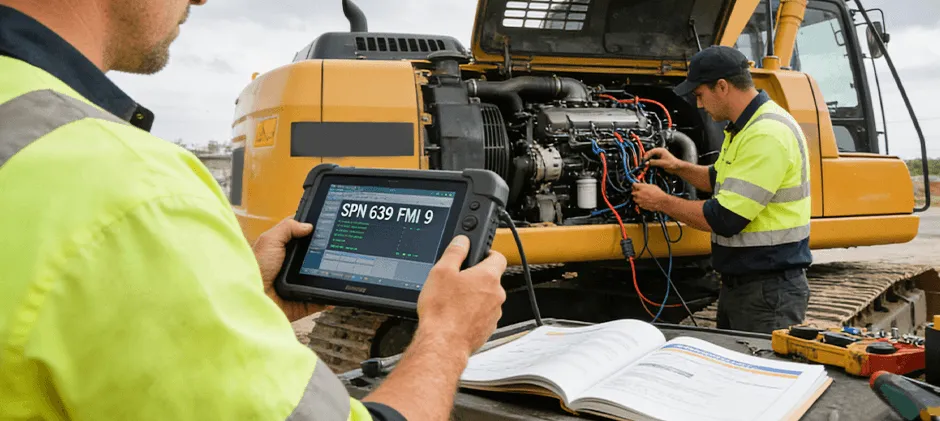
Plug in your heavy-duty diagnostic scan tool. Clear any fault codes linked to the old EGR valve. A lot of modern machines need an EGR valve “relearn” or “calibration” step. Send this command with the scan tool — it tells the ECU to recognize the new valve and learn its position settings. Skip this step, and you might still have performance issues even with a new valve.
Fire up the engine. Take a close look around the new valve, gaskets, and coolant lines to check for leaks. Listen for any odd exhaust sounds. If everything’s good, run the machine under a light load to make sure all power and performance issues are over.
The cost to replace an EGR valve on off-road machines varies a lot, depending on the brand and model.
By performing the replacement yourself, you can save significantly on labor costs. One of the best ways to manage the part cost is by sourcing high-quality aftermarket parts, which often provide the same performance and reliability at a more accessible price point.
Replacing an EGR valve is easy to do yourself — it’ll save you a ton on repair costs. If you need a new EGR valve, MechLink is a good choice. We stock high-quality EGR valves and related parts that fit many brands. Fully stocked, reliable, and budget-friendly. Shop now!