2025-12-01
Step 1-2
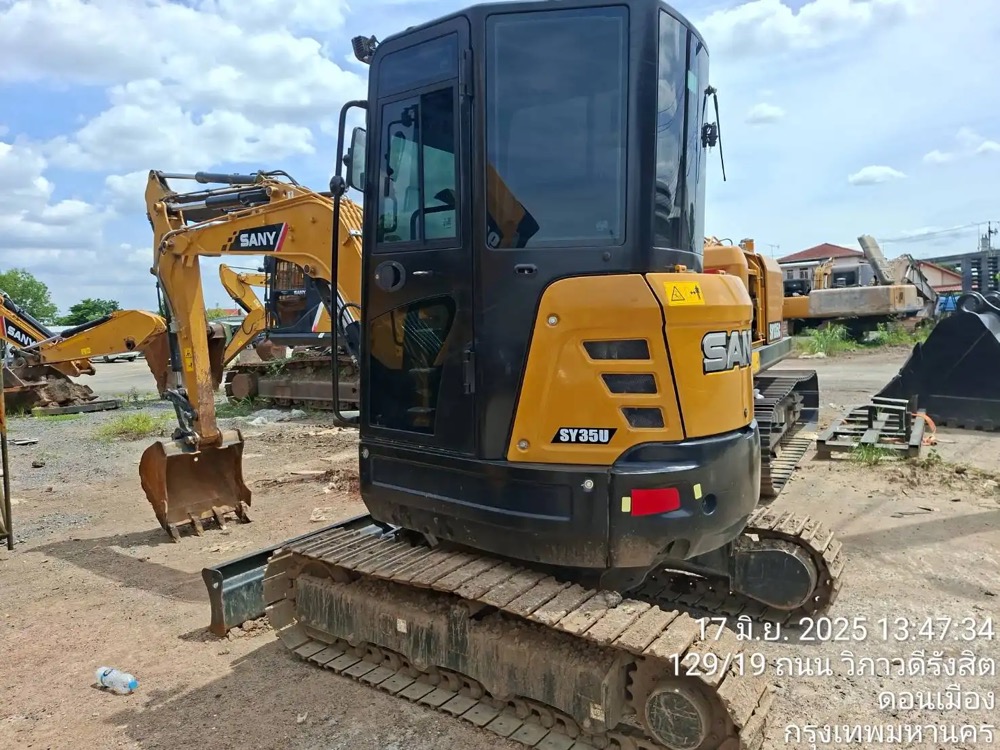
Open the back compartment of the Sany SY35U and locate the two fuel filters. Then, locate the underpanel on the bottom of the machine, this is where you will access the oil drain.
It’s a good idea to wear safety glasses while removing the panel because debris can get stuck underneath. To remove the panel, use a 15-millimeter socket wrench to unscrew the four bolts on the panel. While removing the panel, you can let the plate rest on the subframe to prevent the panel from crashing down.
Steps 3-4
Take a pan and place it underneath the oil drain opening so the oil can drain as you work on the filters. You can elevate the pan closer to the mouth of the drain to prevent the oil from splattering. Use a 19-millimeter socket wrench to remove the oil drain plug so the oil can drain as you work on the filters.
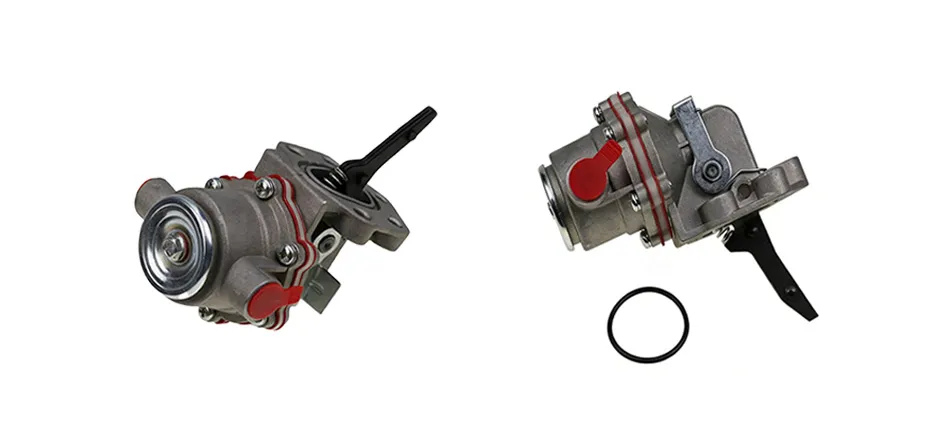
As the oil drains, it’s time to remove the used filters. Return to the back of the machine and unscrew the oil filter and fuel filter. Fuel filters are typically full and may spill out of the top once removed. Do not be alarmed. Once removed, dispose of the used fuel appropriately.
Steps 5-6
Prep the new filter by using some of the fresh oil to pre-lubricate the rubber seal on top. The lubricant allows the filter to make smooth contact when you twist it in. The lubricant also helps for easy removal of the filter in the future and prevents the rubber gasket from cracking. Hand-tighten the new oil filter into place until it makes contact with the metal. Once it makes contact, give the filter another half turn to secure it. For fuel filters with an upside down application, it's easier to pre-fill them with fuel before installing them. This will save time spent on priming the whole system.
Step 7-8
Once the oil is fully drained from the machine, remove the pan of oil from underneath. Screw the oil drain plug back in. Always properly dispose of your drained oil.
Before replacing the grate, we recommend partially screwing in one of the bolts. The machine has cutouts which allow you to slide the panel in and secure the bolt. Proceed to screw in the rest of the grate on the bottom back into the machine.
You can use this time to inspect the motor for any issues while the back of the machine is still open.
Step 9
Refill the machine with fresh oil. Make sure to use the dipstick to check the level. When the dipstick reads ¾ full, this is the perfect place to stop. Once the machine is filled and there are no issues found, you can close the back of the machine.
Step 10
Now that the filters have been replaced, it is time to fire your machine back up. During this process, your machine loses fuel pressure. To rebuild it, prime the lines again by turning the ignition over a few times. Remember, do not start the machine.
The dashboard will alert you if there are any issues. Check for low oil levels, low fuel pressure or check engine lights. If there are no issues, your service is complete.