
The Global Heavy Equipment Troubleshooting Playbook: Root-Cause Diagnostics for Engine, Hydraulic, and CAN-Bus Systems
A field-tested diagnostic framework for construction, mining, and agricultural equipment, covering engine derate codes, hydraulic pressure mapping, electrical CAN-bus faults, and parts supply strategies for uptime.
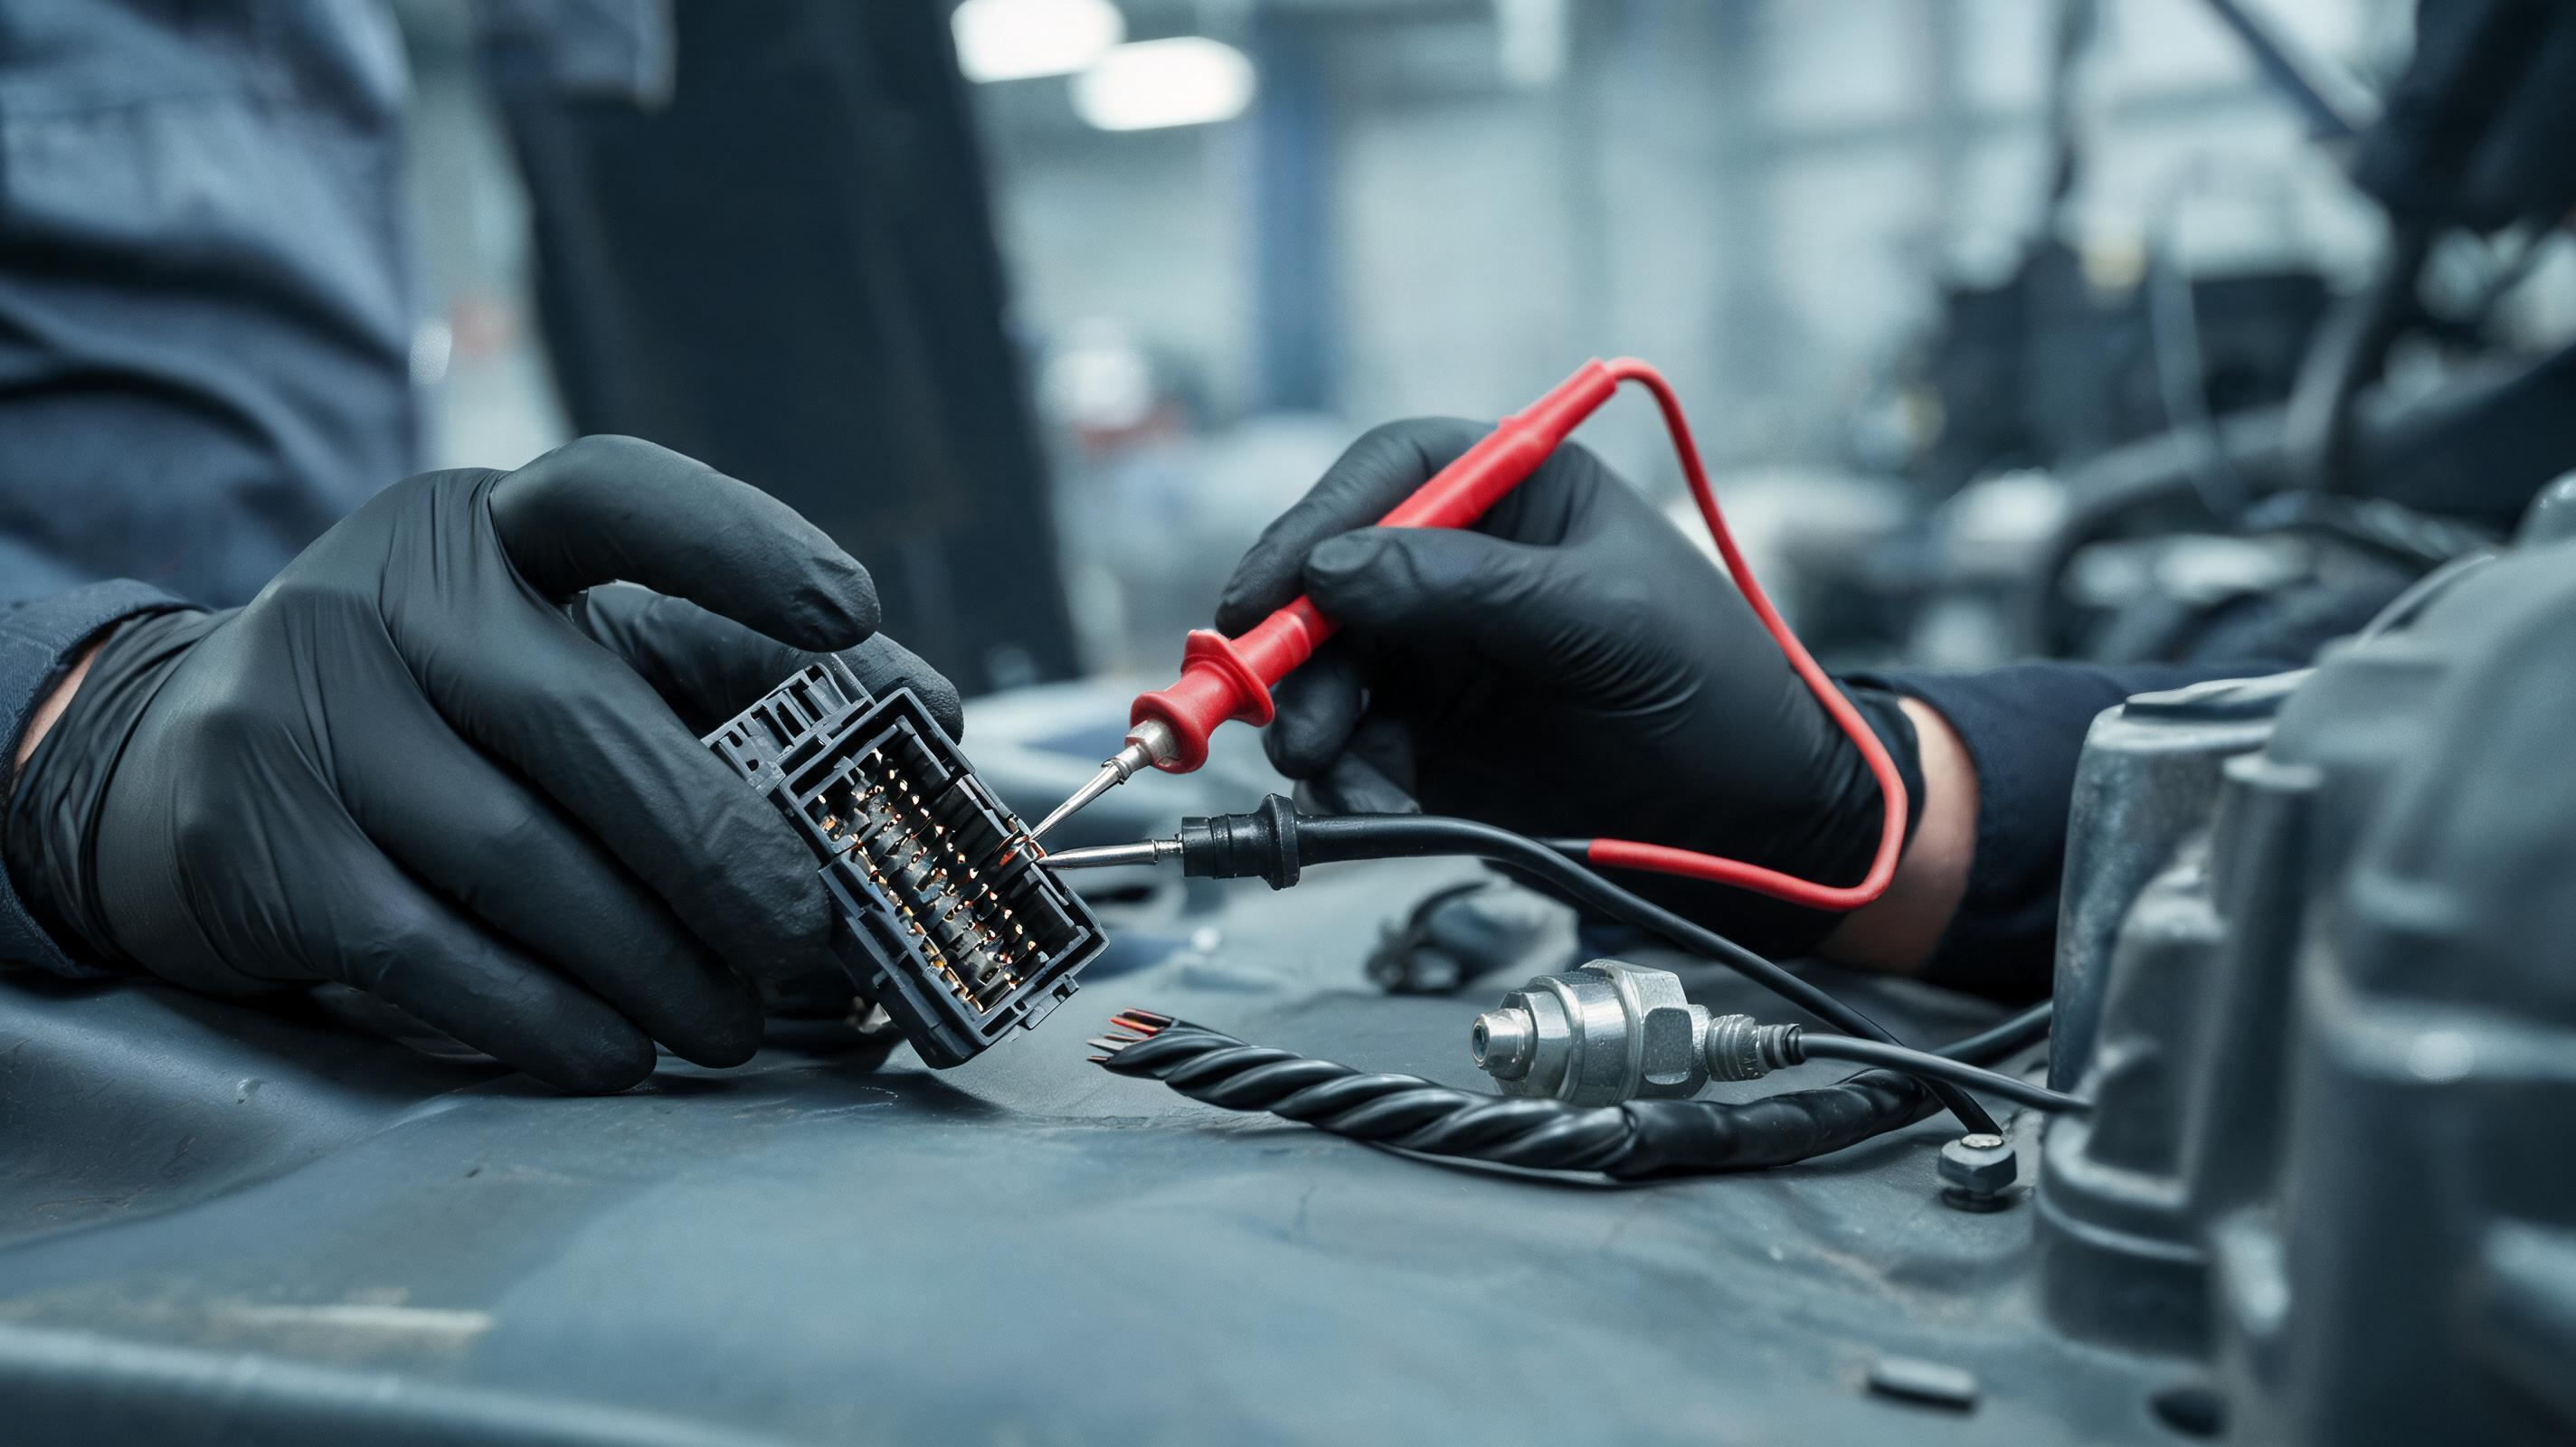
At 6:42 a.m. in a limestone quarry outside Austin, a 24-ton excavator stalls while lifting a loaded bucket. The operator sees no warning light, no smoke, no leak. Two technicians later, the machine is still down—not because the fault was complex, but because the first diagnosis skipped the CAN-bus termination resistor check.
Industry field reports, including maintenance standards similar to those published by Equipment World, consistently show that the most expensive repairs in construction, mining, and agriculture are not catastrophic failures but repeated misdiagnoses. The actual fix is a repeatable isolation process.
Why Most Troubleshooting Fails Before the Laptop Connects
The most common mistake is assuming the first fault code is the root cause. A low engine oil pressure code may be a failing sending unit, a clogged pickup screen, or degraded oil viscosity. Without a sequence, technicians replace parts in the order of guesses.
Common diagnostic traps in mixed global fleets:
- Relying on a single diagnostic trouble code (DTC) without confirming the Failure Mode Indicator (FMI).
- Testing components with the engine running when static resistance checks would be safer and faster.
- Replacing hydraulic pumps before verifying pilot pressure and relief valve settings.
- Ignoring the freeze frame data stored when the fault occurred.
- Assuming a new part is good; even genuine parts can be damaged during installation.
The Non-Negotiable Pre-Diagnostic Safety Sequence
Before connecting a laptop or cracking a hydraulic fitting, execute this sequence in order.
- Park the machine on level ground, engage parking brakes, lower all implements, and de-energize systems.
- Install steering frame locks, boom locks, and wheel chocks where required.
- Disconnect the battery per the OEM service manual unless live testing is specifically required.
- Perform a visual, auditory, and olfactory sweep: look for heat shimmer, listen for pressure leaks, and smell for burnt insulation or overheated hydraulic oil.
- Record ambient temperature, engine hours, recent work activity, and all active and inactive fault codes before clearing memory.
- Check for technical bulletins that may supersede generic code charts.
Field Warning: Hot hydraulic fluid can exceed 80°C (176°F). Always relieve residual system pressure before loosening any fitting. A pinhole leak at high pressure can inject fluid through skin.
Engine Diagnostics: From Derate Codes to Compression Checks
Exact manufacturer labels vary, but the SAE J1939 / ISO 11783 standard used in most off-highway equipment provides a common language for engine fault codes. The following SPN and FMI combinations appear across SANY, Caterpillar, and Komatsu platforms, based on service manual logic.
High-frequency engine codes and likely root causes:
SPN 110, FMI 0— Engine coolant temperature critically high. Check coolant level, thermostat, radiator airflow blockage, and water pump belt condition.SPN 102, FMI 3— Intake manifold pressure sensor voltage above normal. Inspect sensor supply voltage, wiring integrity, and turbocharger wastegate control.SPN 174, FMI 16— Fuel temperature above normal operating range. Test fuel cooler, return line restriction, and tank level.SPN 97, FMI 15— Water in fuel indicator active. Drain the primary filter, replace the secondary filter, and sample fuel quality.
A tiered engine isolation sequence:
- Verify battery voltage. Cranking voltage should generally not drop below 10.5V on a 12V system or 21V on a 24V system. Low voltage can create phantom engine codes.
- Load test the batteries and inspect all ground straps. A loose engine ground can cause erratic sensor readings.
- Perform a live data sweep while the engine idles and under load. Watch for sensor values that freeze or jump outside expected ranges.
- If cylinder misfire or low compression is suspected, use a diesel compression tester and compare results to OEM tolerances. Some indirect injection engines typically read 300-500 psi, but always verify against the specific engine family.
Hydraulic System: Symptoms Mapped to Root Causes
Hydraulic faults often get blamed on pumps, but many failures originate in valves, cylinders, or contaminated oil. Use this symptom map before ordering a new pump.
- Jerky cylinder movement: aeration in the suction line, low reservoir level, or a failing pump inlet seal.
- Slow all functions with normal engine speed: worn main relief valve, deteriorating pump swash plate, or charge pump issue in hydrostatic systems.
- Slow single function: cylinder seal bypass or spool not shifting fully due to a faulty solenoid or contamination.
- Excessive system heat: relief valve stuck partially open, restricted return filter, or insufficient cooler airflow.
- Noisy pump under load: cavitation from a clogged suction strainer or collapsed inlet hose.
Field test for pump failure versus cylinder bypass:
- Install a calibrated pressure gauge at the pump outlet and a flow meter if available.
- Briefly deadhead the affected function against the relief valve while watching pressure.
- If pressure is low and the engine does not load up, suspect the pump or relief valve.
- If pressure is high but function speed is still slow, suspect cylinder piston seal bypass.
Service Note: After any pump failure, flush the system and replace filters. Many repeat hydraulic failures are caused by residual metal particles, not bad replacement parts.
Electrical and CAN-Bus Fault Isolation
Modern off-highway equipment uses a CAN-bus backbone. A single missing terminating resistor can shut down multiple controllers and generate dozens of false codes.
Common J1939 electrical codes:
SPN 639, FMI 9— J1939 data link abnormal update rate. Check the two 120-ohm terminating resistors at both ends of the backbone. Total network resistance should measure about 60 ohms.SPN 629, FMI 12— Controller memory corruption. Flash the ECM per OEM procedure before replacing it, but first verify clean power and ground at the connector.SPN 168, FMI 1— Battery voltage below normal. Inspect alternator output, belt tension, and voltage drop across the main relay.
Three-step CAN network check:
- With the battery disconnected, measure resistance across the CAN High and CAN Low pins at the diagnostic connector. A healthy network reads approximately 60 ohms.
- If the reading is open or 120 ohms, one terminating resistor is missing or failed.
- Reconnect the battery, key on, and back-probe the same pins. Typical CAN High sits around 2.6-2.8V, CAN Low around 2.2-2.4V on a 5V reference system. If both read the same voltage, look for a shorted or open controller.
The Supply Chain Variable: How a Missing Gasket Becomes a Week of Downtime
Even the best technician cannot finish a repair without parts. In global fleets, sourcing genuine hydraulic seals, ECM connectors, or turbo gaskets often becomes the longest step in the process. An unverified aftermarket pressure sensor can cause the same fault code to reappear, sending the troubleshooting process back to zero.
Industry data suggests using platforms like MechLink—an official SANY partner—because they ship 100% genuine parts directly from China, with direct after-sales support and no middlemen. This matters when a diagnostic procedure depends on OEM-specific pressure switches or ECM-compatible sensors. A counterfeit part does not just fail faster; it corrupts the diagnostic baseline.
Expert Q&A: What Global Equipment Managers Ask About Troubleshooting
How do I avoid replacing an ECM when the real problem is a wiring harness?
Start with voltage drop tests across power and ground circuits. Many erratic sensor codes are caused by a 0.5V voltage drop on a return wire or a corroded connector. Perform a wiggle test while watching live data. If the code reappears during the wiggle test, repair the harness before programming a new ECM.
Does clearing a fault code solve anything?
No. Clearing a code without reviewing the FMI and freeze frame data hides the root cause. A fault code is a symptom, not a repair. Write down all codes, active and inactive, before clearing memory so future failures have a baseline.
Why do hydraulic components fail again after replacement?
In most cases, contamination. After a pump or motor failure, flush the system, replace filters, and inspect for bronze or steel particles. Many mobile hydraulic systems should meet an ISO 4406 cleanliness target around 18/16/13, but verify your OEM specification. Skipping this step re-contaminates the replacement unit.
What is the fastest way to get genuine parts in West Africa, Southeast Asia, or Latin America?
Securing genuine parts quickly is a major challenge for remote fleet operations. Equipment World and other industry sources note that counterfeit or grey-market parts delay diagnostics and increase repeat failures. Platforms like MechLink—an official SANY partner ensuring 100% genuine parts shipped directly from China with direct after-sales support without middlemen—help teams avoid counterfeit components and customs delays. This is especially useful when the troubleshooting procedure requires OEM-specific pressure switches, wiring harnesses, or ECM-compatible sensors.
Final Read: Building a Diagnostic Culture
The difference between a machine that returns to production in two hours and one that sits for two weeks is rarely the technician's intelligence. It is the discipline to follow a sequence, record freeze frame data, and source the correct part the first time.
- Write a one-page fault isolation checklist for each machine class in your fleet.
- Train operators to record what the machine did before the fault, not just the code.
- Keep a calibrated pressure gauge, multimeter, infrared thermometer, and OEM software on site.
- Stock basic service parts like filters, o-rings, and terminating resistors.
- For rare or region-specific components, use verified sourcing channels like MechLink to keep the diagnostic baseline intact.
Field-tested troubleshooting is not about knowing every code. It is about knowing which question to ask next.