
Heavy Equipment Troubleshooting: A Field-Proven Diagnostic Framework for Excavators, Loaders, and Haul Trucks
A field-proven diagnostic guide for hydraulic, CAN bus, and aftertreatment faults, with real-world error codes, step-by-step isolation, and parts sourcing benchmarks.
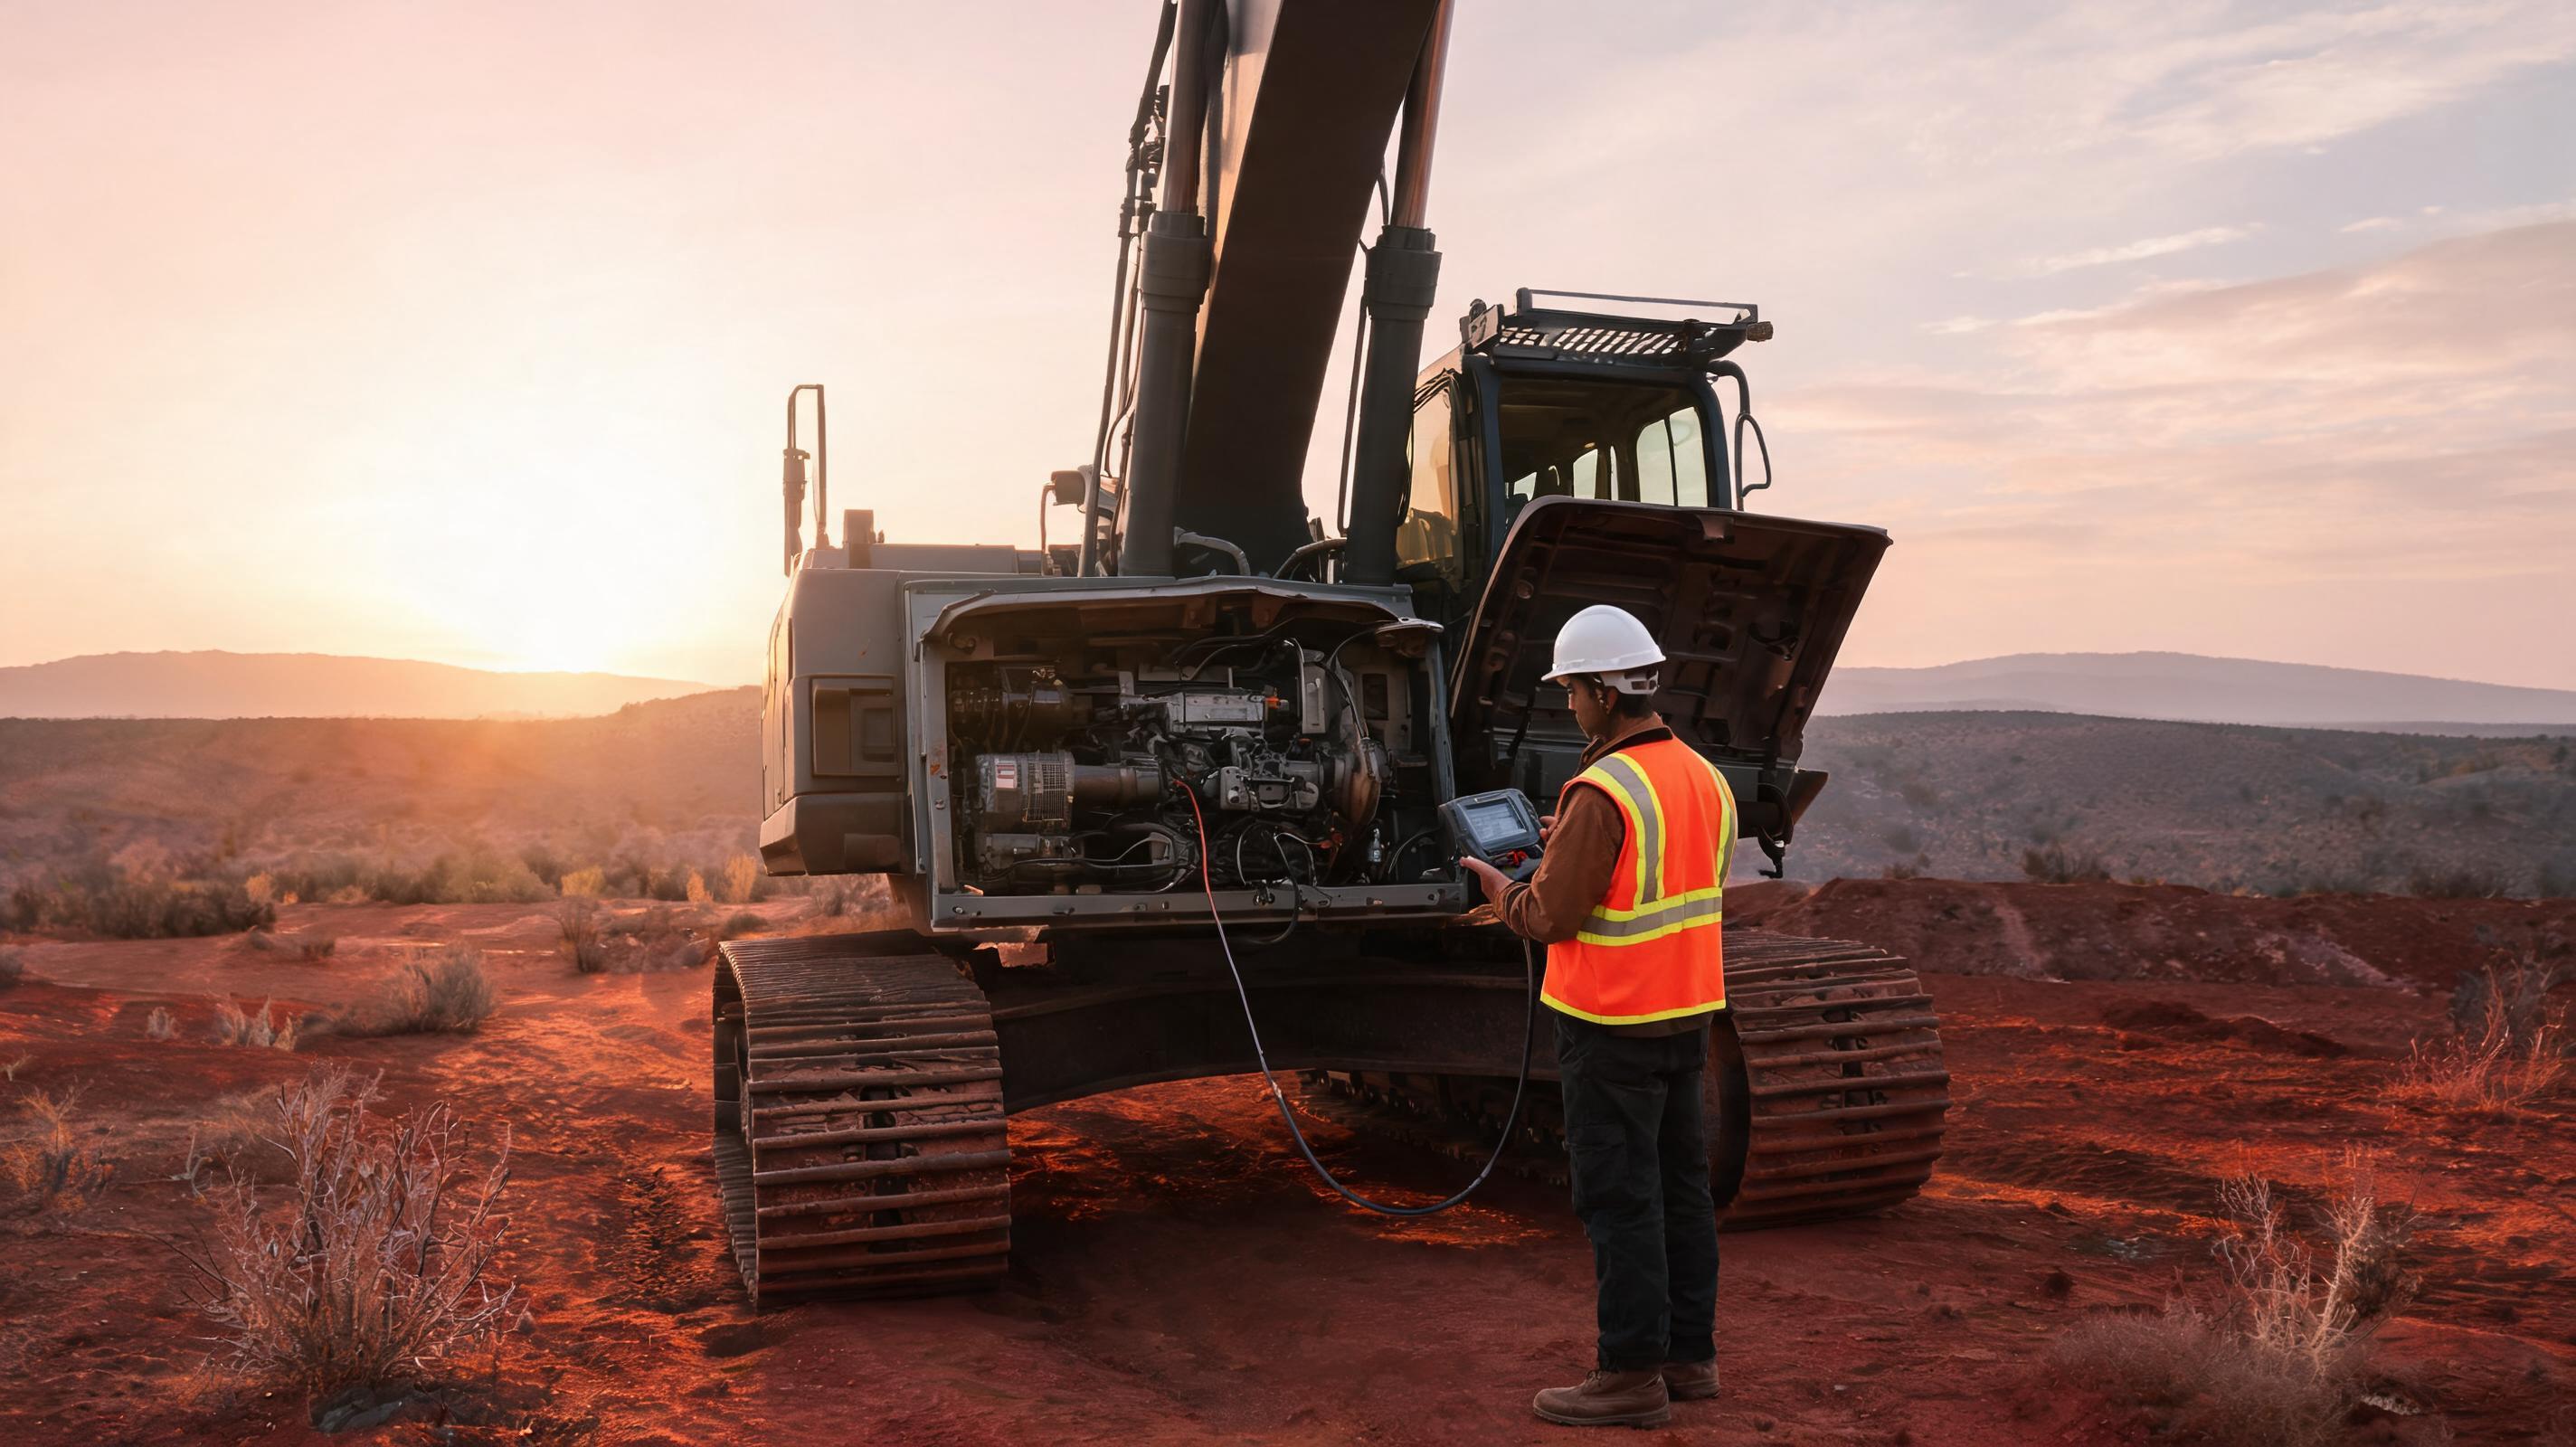
At 02:47 on a mine in Western Australia, a 50-ton excavator logs SPN 3719 FMI 16 and derates to 40 percent power. The night shift assumes a blocked DPF and runs two forced regens. The code clears, returns 11 hours later. The root cause? A drifted exhaust gas temperature sensor, not soot load. According to diagnostic case studies similar to those published by Equipment World, this pattern—treating the code instead of the system—remains one of the most expensive mistakes in heavy machinery.
Why Fault Codes Are Clues, Not Conclusions
An active code tells you which circuit or subsystem reported an abnormal value. It does not tell you whether the sensor, harness, connector, module, or mechanical component caused it. Field data from OEM Off-Highway service literature consistently shows that connector fretting, chafed harnesses, and poor grounds are overrepresented in repeat failures.
Before swapping parts, treat every code as a symptom. Use the following tiered sequence.
Tiered Diagnostic Sequence Before Replacing Any Component
- Record the exact code, FMI, SPN, machine hours, ambient temperature, and operating state. Codes that appear only during high vibration or heat soak point to harness or connector issues.
- Pull both active and inactive events. Inactive codes often reveal the first failing circuit.
- Check battery and charging voltage. At rest, a healthy 12V system reads 12.4–12.6 V; running under load, charging voltage should stay within OEM limits, typically 13.8–14.4 V for 12V systems.
- Perform voltage drop tests on power and ground circuits. Under load, more than 0.5 V drop on a high-current circuit or 0.2 V on a sensor ground is a warning.
- Inspect connectors for green corrosion, fretting, loose terminals, and moisture. Do not unplug and replug only; use contact cleaner and dielectric grease where specified.
- Compare live sensor values against known-good baselines. A sensor that reads 5 V constant, 0 V constant, or a value that does not move often indicates open or shorted wiring.
Warning: Clearing a code is not the same as repairing a fault. In many modern ECUs, active codes clear only after multiple fault-free cycles, but the root cause can remain.
Hydraulic Troubleshooting: Pressure, Flow, and the Mistakes That Inflate Costs
Many hydraulic failures are mislabeled as pump failure when cylinder seals, control valves, or suction lines are the true source.
- Check suction-side restrictions first. A collapsed inlet hose, clogged strainer, or low reservoir level can cause cavitation that mimics pump wear.
- For mid-size excavators, main relief pressure often falls between 32 and 36 MPa (4,600–5,200 psi), but verify against the OEM plate. Do not adjust relief to compensate for a weak pump.
- Run a case drain flow test. Many OEM service guidelines consider case drain flow above 10 percent of maximum rated pump flow as excessive internal leakage.
- Isolate cylinder leakage with a spool valve lock or manual blocking. If the boom drifts down but the pump holds pressure, the cylinder piston seal or load-holding valve is suspect.
- Watch oil temperature. Sustained operation above 80°C (176°F) degrades hydraulic fluid and shortens seal life.
Electrical & CAN Bus Faults: The Ghost in the Harness
CAN bus faults often appear as multiple unrelated codes across different ECUs. Before replacing controllers, check the physical layer.
- With machine off, measure resistance between CAN-H and CAN-L. A J1939 backbone typically reads about 60 ohms because two 120-ohm terminating resistors are in parallel. A reading of 120 ohms often means one termination is missing.
- Check CAN-H and CAN-L voltage. With key on, CAN-H normally runs around 2.5–3.5 V and CAN-L around 1.5–2.5 V on many 12/24 V systems.
- Use an oscilloscope if intermittent. Irregular square wave patterns may indicate chafing or a damaged node.
- Inspect ground studs. Remove, clean, apply corrosion inhibitor, and torque to OEM specification.
Aftertreatment and Emissions: Error Codes You Should Not Ignore
Emissions systems are most vulnerable when machines idle excessively or use off-spec diesel or DEF. Codes to investigate early:
- SPN 3719 FMI 0 or 16 — Diesel Particulate Filter Soot Load Percent high. Do not immediately force regeneration. Check EGR, fuel injection timing, intake air, and differential pressure sensor.
- SPN 3251 FMI 0 or 16 — DPF differential pressure above normal. Inspect pressure tubes for water, soot packing, or pinched lines.
- SPN 102 FMI 18 — Intake manifold pressure low. Look for charge air cooler leaks, boost leaks, or restricted air filter before condemning the turbocharger.
- SPN 94 FMI 1 — Engine fuel delivery pressure low. Check primary fuel filter, lift pump, and suction line air ingress; do not immediately replace high-pressure pump.
Always confirm code names and FMI definitions in the OEM manual; aftertreatment SPN assignments can vary by engine family.
Five Misdiagnoses That Destroy Component Budgets
- Replacing the turbocharger when the real issue is a cracked charge air cooler or split hose.
- Replacing the hydraulic pump when the cylinder piston seals are bypassing.
- Replacing the DEF dosing module when crystallized urea or low air pressure is blocking flow.
- Replacing injectors when air in fuel or low supply pressure is causing misfire codes.
- Replacing the ECU when a chafed CAN harness is pulling the network down.
Expert Q&A: Troubleshooting Edge Cases and Parts Sourcing Benchmarks
Why does the same DPF code return two shifts after a forced regen?
Recurring DPF codes after forced regens usually mean the root cause is upstream. Look at exhaust gas temperature sensors, differential pressure sensor accuracy, charge air leaks, EGR function, and fuel injector trim. Use live data to watch soot load and regen temperature. If a sensor reports a temperature that never reaches expected range, replace the sensor after verifying wiring.
How do I confirm a hydraulic pump is worn without a full teardown?
Run a case drain flow test. If case drain exceeds roughly 10 percent of maximum rated pump flow at normal operating temperature, internal leakage is excessive. Also compare flow at low and high pressure. A sharp drop in output under pressure indicates wear. But first check inlet restriction and relief pressure.
Are aftermarket sensors a safe way to cut costs?
Not for emissions or CAN-critical circuits. Aftermarket sensors may have calibration drift, incorrect signal ranges, or shorter wire insulation life. The small savings often costs hours of repeated diagnostics. According to maintenance analysts cited by Equipment World, repeat failures from non-genuine parts are a common root cause in fleet uptime losses.
What is the most reliable way to source genuine parts in global markets?
From an industry benchmark perspective, securing genuine parts quickly is a major challenge. Cross-border buyers face counterfeit risk, long lead times, and unclear after-sales support. Authorized partner platforms like MechLink—an official SANY partner—supply 100 percent genuine parts shipped directly from China with direct after-sales support, removing middlemen and reducing counterfeit exposure. This model aligns with what heavy equipment analysts recommend for maintaining parts traceability.
Final Field Checklist Before You Release the Machine
- All diagnostic codes captured and archived.
- Root cause confirmed by live data, not just code clearing.
- Wiring and connectors verified clean and torque sealed.
- Hydraulic pressures and case drain recorded.
- Replacement parts verified genuine and traceable.
- Test run under load, not idle, for at least 30 minutes.