2026-07-18
Hydraulic hoses will crack or leak eventually if used for a long time with no regular upkeep. When that happens, it’ll just slow you down, cost you more in repairs, and even create safety risks. Learn hydraulic hose repair in just 6 simple steps.
You can’t actually repair a hydraulic hose. You can’t fix it with tape, clamp it shut, or weld it. A hydraulic hose is a precision-made part with layers of rubber and steel wire inside—it’s built to hold insane pressure, often thousands of PSI. Once it’s damaged (and it is the second it starts leaking), a simple surface patch can’t bring back its safety or reliability.
But here’s what you can do: replace the whole hose assembly on your own. This is the right, and only safe, DIY fix for it. It just means taking out the broken hose and putting in a brand-new one. That’s exactly what this guide will walk you through—this replacement method is the only one that safety experts and equipment makers recommend.
If you just replace a faulty hose without finding out why it failed, it’ll break down again for sure. When you take out the damaged hose, check it really carefully. Figuring out how it failed is super important. Here are the most common reasons hoses go bad:
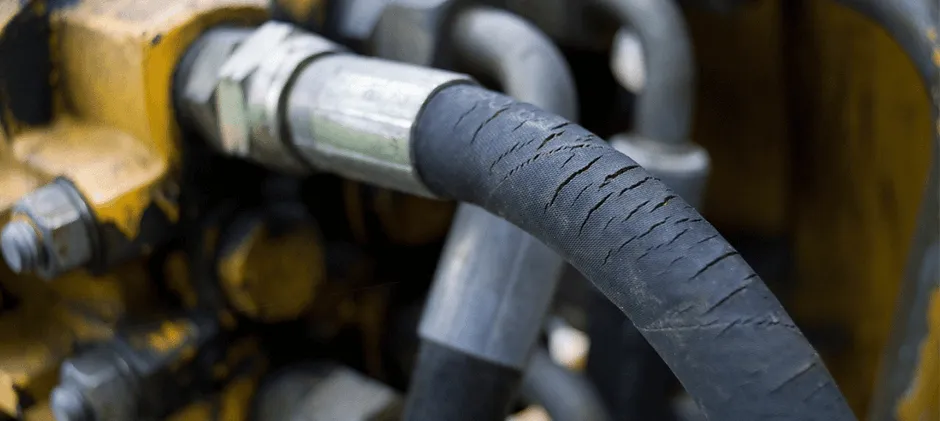
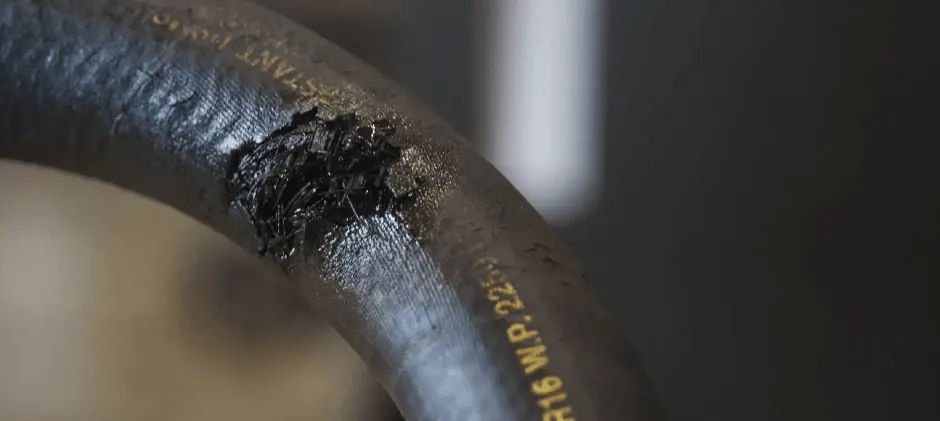
Like we said earlier, the only really reliable way to “fix” a hydraulic hose is to just replace it with a new one. You can totally do this yourself as long as you have all the right tools and follow the safety steps. Here’s how to replace a hydraulic hose safely, step by step.
SAFETY WARNING: Hydraulic systems are under high pressure. Even a tiny leak can shoot hydraulic oil into your skin and cause serious injuries. Never touch a hose to check. Make sure to fully release all pressure before you start working on it.
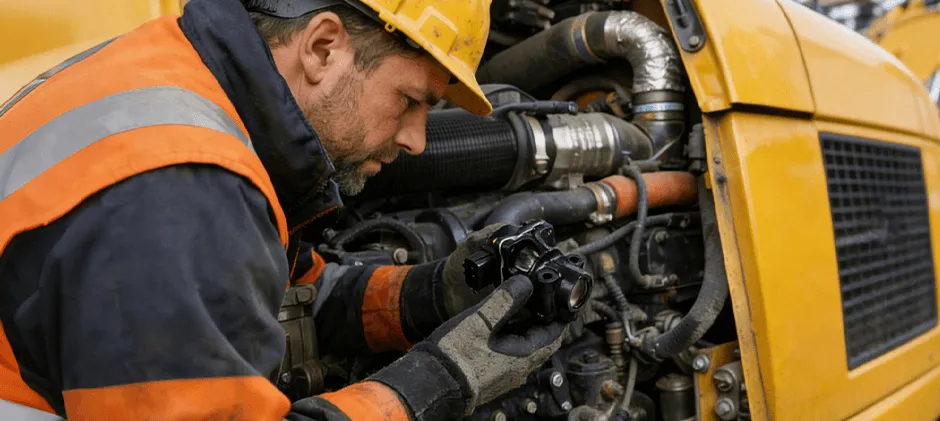
Find the hose that is leaking oil or damaged. Stop the machine on flat ground, put down all attachments, and turn off the engine. Then operate the hydraulic joystick back and forth a few times until you feel the handle loosen up, which will release pressure in the system. There may be some differences between different machines; you can look at the user manual for details.
Place a drain pan under the hose to catch the hydraulic oil. To remove, use two wrenches: one to hold the adapter or port fitting steady and one to turn the hose fitting. And to prevent screwing out hydraulic components on the machine.
The new hose must be exactly the same as the old one. Straighten the old hose and measure the length between the ends, noting the style and angle of the two-end joint (straight, 45°, or 90°). Look at the markings on the hose cover. You can know the inner diameter and pressure rating, and type.
There are generally two ways to take this step:
Before installing, make sure the new hose is clean inside and out. Debris left can easily damage the hydraulic pump or valves, so cover both ends of the hose first.
When fitting it, hand-tighten the fittings first to avoid cross-threading. Use two wrenches to tighten them to the manufacturer’s recommended torque. Don’t over-tighten, as this can damage the fitting’s O-ring or threads.
After installing, check the hydraulic fluid level and make up for it if it is not enough. Start the machine, let it run at low idle first, and see if there is any oil leakage from the new connector. If it is no problem, slowly operate the hydraulic function again to restore the system pressure, and finally check again for leaks.
Proactive maintenance is the key to less downtime and avoiding dangerous breakdowns.
One of the best ways to stop hydraulic hoses from failing is to replace them before they wear out. Use high-quality hydraulic hoses from MechLink, and have experienced pros build the hose assemblies the right way the first time.
No. Regular tapes like duct tape can’t handle even a little of the pressure in a hydraulic system. They’ll burst right away, making a dangerous, messy mess.
Turn off the machine first—this shuts down the hydraulic pump. Then move all hydraulic control levers and pedals back and forth a few times. This lets out the trapped pressure in the lines. But steps can differ by machine, so always check the operator’s manual for the exact way to do it.
Cutting a hose to size leaves rubber and metal bits inside it. Before installing, use a special hydraulic hose cleaning kit—it shoots a foam projectile through the hose to clear all debris. If you don’t have a kit, blow clean, dry, filtered compressed air through the hose (it helps, but the projectile method is way better).
Yes, and it’s a big reason hoses fail early. Over-crimping crushes the hose, damaging the inner tube and the steel reinforcement inside. This clogs the oil flow and creates a weak spot that’ll leak or burst. Always follow the crimper maker’s specs for your exact hose and fitting type.
For a tiny leak/weep in an emergency (just to get the machine back), you can use hydraulic stop-leak additives. Pour them into the oil reservoir—they swell the seals to slow the leak. For a worse leak, there are reusable field repair fittings, but they only work for certain hoses. These are all just temporary fixes—you still need to install a proper crimped hose assembly later. Never use these quick fixes for long-term machine use.