Strona główna > Aktualności > How to replace track idler of excavator: detailed steps and daily maintenance guide
How to replace track idler of excavator: detailed steps and daily maintenance guide
2026-04-19
FacebookLinkedinTwitterWhatsapp
Among the many key components of an excavator, the track idler plays a vital role. A good track idler not only ensures the smooth operation of the excavator during operation, but is also directly related to the life and safety of the equipment.
Tool and material preparation
Before starting to replace the track idler, make sure that all necessary tools and materials are ready to avoid safety accidents caused by insufficient tools during operation. Common tools and materials include:
Wrench and socket wrench: used to remove the bolts or nuts that fix the track idler
Jack or hydraulic lift: auxiliary lifting equipment to ensure the safety of the replacement operation
Crowbar and disassembly tools: used when encountering fasteners or jamming
Protective gloves and safety glasses: to ensure the safety of operators
Lubricants and cleaning agents: used to clean the axle and mounting surface to ensure smooth installation of the new wheel
Installation tools: such as hammers, mounting gaskets, etc., to ensure that the installation is tight and stable
Make sure all tools are inspected before use and meet site safety standards.
Detailed steps for replacing the track idler
The following steps describe in detail how to replace the track idler of an excavator safely and efficiently:
Safety preparation and equipment shutdown
Disconnect the power supply and hydraulic system: Before operation, make sure that the excavator has been completely shut down and the power supply is cut off to avoid accidental startup
Place safety signs: Set up a warning area and place warning signs in the working area to prevent unauthorized personnel from entering
Use a jack to stabilize the equipment: Use a jack or hydraulic lift to stabilize the equipment during the replacement process to ensure a smooth operating surface
Remove the old track idler
Check the fixing device: Observe the connection between the track idler and the axle, which is usually fixed by multiple bolts or fasteners
Loosen the bolts gradually: Use a wrench to loosen the fixing bolts one by one, paying attention to the order to avoid equipment displacement due to uneven force
Remove the old wheel assembly: When removing, you can use a crowbar to assist and gently remove the track idler from the axle, taking care to prevent damage to other components
Clean and inspect the axle
Clean the axle surface: Use a detergent to thoroughly remove the old lubricating oil and dirt on the axle
Check the axle wear: confirm whether the axle has scratches, wear or deformation, and replace or repair the axle if necessary
Install the new track idler
Compare the new and old parts: ensure that the new track idler is consistent with the old part model and specifications
Place the new track idler: align the new wheel correctly with the axle, and install the gasket or seal to ensure no shaking
Tighten the bolts: use a wrench to gradually tighten all bolts in the original fixed order, be careful not to overtighten or miss, it is recommended to adjust according to the torque specification
Lubrication: After tightening, add an appropriate amount of lubricating oil to the joints and axle parts to ensure smooth and corrosion-resistant operation in long-term operation
Functional testing and trial operation
Check the installation stability: reconfirm whether all bolts are firmly fixed to ensure no looseness
Low-speed trial operation: run the equipment at a low speed to check whether the operating status of the track idler is normal
Record maintenance data: record the date of replacement, operator and equipment operation status, and provide data support for future routine maintenance
Precautions during replacement
During the process of replacing the track idler, there are several key precautions that can effectively avoid common errors and extend the life of the equipment:
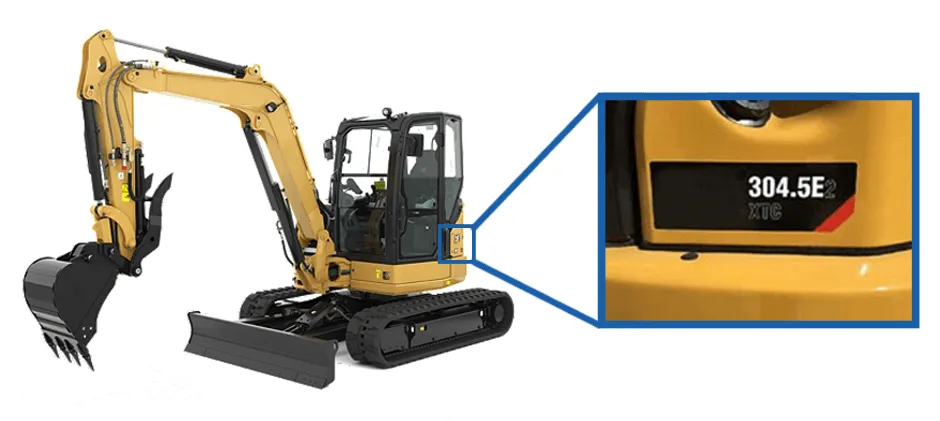
Strictly follow the equipment manual: Different models of excavators may have slightly different track idler installation methods, so be sure to refer to the manufacturer’s technical manual
Follow safety regulations: Confirm site safety before operation, use appropriate protective equipment, and avoid falling objects from heights or equipment misstarting
Use appropriate tools: Do not use damaged or mismatched tools, otherwise it is easy to cause component damage
Pay attention to lubrication and anti-corrosion treatment: After installation, fully lubricate key components to reduce friction and extend service life
Regular inspection: Regularly check the track idler status after replacement, and promptly handle possible abnormal situations
Transport track idler and daily maintenance standard operation
In order to ensure the stable operation of the excavator in daily transportation and long-term use, daily maintenance and transportation operations of the track idler are crucial:
Precautions for daily transportation
Avoid frequent impact: During transportation, try to avoid severe collisions and vibrations to keep the equipment stable
Check tires and suspension system: Ensure that the track idler and related suspension system are fully inspected before transportation to prevent hidden dangers caused by long-distance transportation
Appropriate reinforcement: During transportation, temporary reinforcement measures can be taken for the track idler and connected parts to avoid loosening due to bumps
Daily maintenance standard operation
Regular cleaning: Clean the track idler and axle surface regularly to remove dust and impurities and keep the working environment clean
Regular lubrication: Add lubricating oil at regular intervals according to usage to keep the track idler running smoothly
Regularly check wear: Through regular inspections, timely detect wear and deformation of the axle or track idler to prevent problems before they happen
Record maintenance log: Establish a detailed maintenance log to record each maintenance and inspection data to provide a basis for subsequent repairs
Follow the manufacturer’s recommended cycle: Perform daily maintenance according to the maintenance recommendations and maintenance cycles provided by MechLink excavator parts manufacturers
The replacement and daily maintenance of the excavator track idler is not only related to the operating efficiency of the equipment, but also an important part of ensuring safe production. Through comprehensive tool preparation, detailed disassembly and installation steps, and strict safety operation specifications, the service life of the excavator can be effectively extended and maintenance costs can be reduced. Both operators and equipment managers should strictly follow the manufacturer’s technical manual and standard maintenance procedures to ensure that every step of the operation meets safety and professional requirements.