2026-08-19
When your machine’s windshield wipers suddenly stop working, visibility can drop dangerously fast. Then, how to test a dead wiper motor? This quick 3‑step diagnostic guide walks you through how to find and fix the real problem — safely, accurately, and without wasted downtime.
Remember: In off‑road conditions, dust, vibration, and moisture accelerate corrosion and wear. Routine inspection of connectors and grounds can prevent many electrical issues before they cause downtime.
Safety First
Before touching any electrical components:
Tools You’ll Need
Digital multimeter (essential for testing voltage and continuity)
Jumper wires (preferably with alligator clips)
Socket or wrench set
Machine wiring diagram or service manual
Tip: Always work on level ground, and ensure all hydraulic systems are at rest before starting any electrical inspection.
Most wiper system failures come from basic issues — small, cheap, and easy to fix.
Find the wiper or “accessory” fuse in your machine’s fuse box or panel.
If it’s blown, replace it with one of the same amperage rating.
If it keeps blowing, there’s likely a short circuit or overloaded motor downstream.
Try turning on the washer fluid pump (if equipped).
If the pump works, it’s a good clue that the switch is receiving power. However, this is not a final confirmation, as some machines use separate circuits for the wiper and washer functions.
If neither the wipers nor the washer responds, suspect an upstream electrical issue like a corroded connector or a bad switch.
Turn the key to ON (engine not running), activate the wiper switch, and listen carefully near the base of the windshield.
If nothing obvious turns up, move to electrical testing.
Now it’s time to confirm if your machine’s electrical system is doing its job.
Find the wiper motor — usually mounted near the base of the windshield or under the hood/cowl.
Disconnect the plug, and you’ll test on the machine harness side, not the motor side.
No reading? The issue lies upstream — check the switch, relay, or wiring harness.
A beep or zero resistance means the ground is solid. A poor ground can cause a host of confusing electrical issues, similar to telling the difference between a bad alternator vs a bad battery.
If not, trace the ground strap or wire — corrosion is common in harsh environments.
| Power | Ground | What It Means |
| Yes | Yes | Wiring is good — the motor is faulty. |
| No | Yes | Power problem — inspect fuse, relay, switch, or wiring. |
| Yes | No | Ground fault — clean or replace the ground wire. |
| No | No | System fault — trace wiring and main feed circuit. |
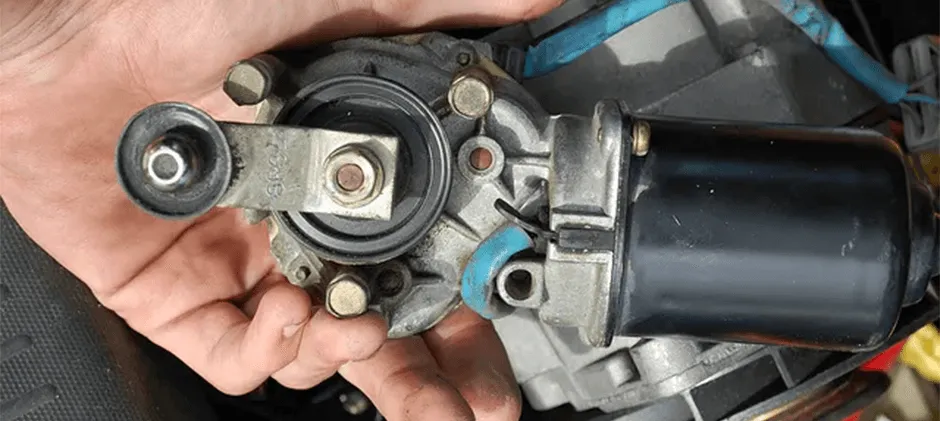
If you’ve confirmed that power and ground are fine, it’s time to test the motor directly.
Unbolt the motor and mount it securely on a non‑conductive surface or in a vice, away from grounded metal parts.
If your machine runs on 24V, use both batteries in series to replicate that voltage.
Important: Apply power only briefly. Continuous running without a load can overheat the motor.
If your wipers work but never stop in their proper “rest” position, your internal park switch is likely defective.
This built‑in circuit controls automatic shut‑off when the wipers return to the base position.
Because it’s usually sealed inside the motor housing, replacement of the entire motor assembly is the most effective fix. You can follow a step-by-step replacement guide to do the job correctly.
By following these three simple diagnostic steps — inspect, measure, and test — you can quickly identify the real cause of failure without unnecessary part swaps.
With a systematic approach, you’ll not only save repair costs but also keep your machine ready for any job, any weather. If you want to find a high-quality wiper motor with ease, MechLink is always waiting to cater to you.